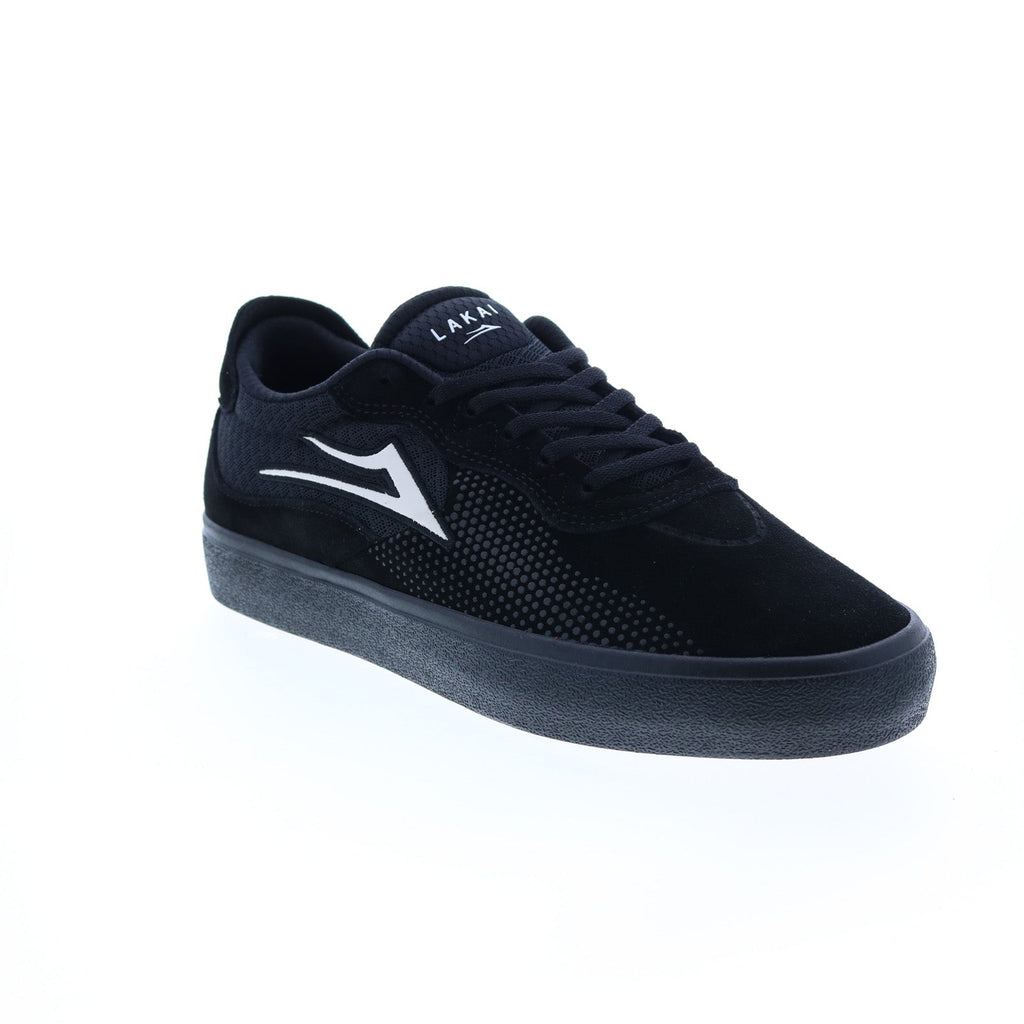
Map the board-contact path before relacing
Examine the damaged lace and upper while holding the shoe beside the board. Most breaks occur where a diagonal lace crosses the rider's flick path, but the exact eyelets vary with stance, trick selection, and shoe shape. Mark the first fuzzy segment rather than waiting for a complete snap. Also inspect metal or rough-edged eyelets, because abrasion from inside the hole needs a different fix from grip tape cutting the exposed run. The objective is not to hide every lace; it is to shorten vulnerable crossings while preserving secure, even tension through the heel and midfoot.
Begin with loose tension at the forefoot
Place the foot in the shoe, tap the heel back, and tighten from the lowest row upward in small increments. The toe box should flex without the laces forming a hard ridge across the metatarsals. Use slightly firmer tension through the middle rows to stop sliding, then adjust the top for heel hold. Pulling the upper rows as hard as possible can crush the instep, distort eyelets, and make laces saw against the shoe. After each change, crouch and lean laterally; circulation, toe position, and forefoot movement should remain normal while the heel stays centered.
Move vulnerable crossings away from the flick zone
If one diagonal repeatedly frays, reroute that section through a neighboring eyelet or use a straight outside bar with the working length running inside the shoe. Keep internal lace segments flat so they do not form pressure knots. Some shoes include hidden or recessed loops specifically for protection; use them only if the lace still travels smoothly and does not pull the tongue sideways. Photograph the finished route so it can be reproduced after replacement. A durable pattern is valuable only when both shoes remain equally secure and the altered side does not change how the foot sits.
Bar lacing has a practical limit
Straight bars expose less diagonal lace on the surface and create a clean contact area, making the pattern useful for some low-top skate shoes. It does not protect the short segments entering each eyelet, and it can make tension adjustment less intuitive. Lace from the inside so hidden runs lie flat, check that no segment twists, and leave enough length to tie normally. Riders with high insteps may prefer conventional crisscrossing because it spreads adjustment across more rows. Choose bar lacing because it moves material away from a known scrape, not because the pattern is assumed to be universally stronger.
Keep the knot out of the work area
Tie a compact double knot near the center of the tongue and shorten excessive loops rather than tucking a large bundle under the foot. Long loops can catch the board, while a bulky knot under the tongue can press into the instep. If the shoe has a tongue keeper, use it to limit sideways movement before overtightening the top rows. Lace length should suit the number of eyelets and chosen route; replacing an overly long lace is safer than wrapping it around the ankle. Check the knot after warming up, because new laces can settle and loosen during the first session.
Replace damaged components instead of compensating
A rough eyelet can shred every new lace in the same place. Smooth only minor burrs with appropriate care and retire the shoe if hardware is broken or cutting the upper. Replace a lace when multiple fibers are severed, the core is exposed, or the segment has flattened substantially. Carry a spare of the correct length in the skate bag. Avoid tightening harder to keep a frayed section away from grip tape; that moves the foot and increases pressure without restoring strength. Lace protectors can help, but they should not interfere with flex or create a raised catch point.
Test one change during a short familiar session
Use familiar flatground or ledge work to judge the new route before taking it to demanding terrain. Notice heel security, tongue position, pressure over the instep, and whether the same lace segment touches the board. Stop if toes go numb or the foot shifts on catches. After the session, photograph new fuzz and compare it with the original wear map. Retain the pattern only if it reduces exposure without changing control. Keeping the route, lace length, and replacement date in a note makes future maintenance quick and reveals whether a different shoe design would solve the problem more effectively.
Leave enough free lace at the top to tie a secure double knot without creating long loops. Tuck the finished bow where it cannot catch a wheel, board edge, or pedal, but avoid forcing a hard knot beneath the tongue where it can press the instep. Recheck tension after the upper warms and settles. If one zone repeatedly loosens, isolate it with a locking crossover rather than tightening every eyelet. The objective is controlled tension that stays consistent, not maximum compression from toe to collar.
People also ask
Questions that extend this decision
How to Lace Skate Shoes for Fewer Broken Laces: How tight should skate-shoe laces feel?
They should secure heel and midfoot without numb toes, sharp instep pressure, or restricted forefoot flex. Tighten gradually from the bottom upward.
How to Lace Skate Shoes for Fewer Broken Laces: Can straight bar lacing reduce broken laces?
It can remove exposed diagonal crossings from a flick zone, but eyelet segments remain vulnerable and the pattern must still provide even fit.
How to Lace Skate Shoes for Fewer Broken Laces: Where should I tuck extra lace?
Use a compact centered knot and short loops. A small amount can sit beside the tongue if it creates no pressure; never place a bulky bundle underfoot.
How to Lace Skate Shoes for Fewer Broken Laces: Why does every replacement lace break at one eyelet?
The eyelet may have a rough edge or sit directly in the board-contact path. Inspect the hardware and upper instead of assuming another lace will solve it.
Final verdict
Choose the tradeoff you understand.
Shorter exposed lace runs and protected eyelets can reduce grip-tape contact without making the shoe uncomfortably tight. Fit comes first, the repeated session demand comes second, and the exact current product identity comes third. Use Amazon to verify sizes and options without relying on stale price or stock claims.
As an Amazon Associate, we may earn from qualifying purchases.
Check current options on Amazon